
Tips for Organising Your Studio
EPISODE 30
When you stop making art in your studio because the mess is giving you bad vibes, there’s a good chance it needs more than a tidy up!
That was the case for my studio and last weekend it got the treatment. We painted, cleaned, de-cluttered and re-organised the entire space!
Join us this week as we share the ins and outs of what we did including all the nifty storage ideas that are helping us to make the most out of what is a fairly small room.
And if you want to see what it looks like, you can check out this video tour. on YouTube.
You can also read a summary of the tips below and find links to the items mentioned.
1. Block out a chunk of time to dedicate to the task
However long you think it is going to take, double it! Clear your schedule and give your studio revamp focused attention rather than trying to fit it in around other bits and bobs.
2. Take everything out and refresh the space
Yep, take it all out. Everything. The furniture, the art supplies, the art. Give yourself a blank canvas to work with and while you are at it, this is the perfect time to clean out the cobwebs and paint the walls. We used Dulux Vivid White paint on the walls to help bounce the light around and make my abstract art pop.
3. Give yourself permission to purge
Sometimes we feel like we have to hold on to every part of our art journey. It can be hard to let go of things, especially artwork and art supplies, but I urge you to think about whether those items are helping or hindering your creative process. By all means hold on to things you love but if it doesn’t inspire you or get you excited about creating, maybe it’s time to part ways. Unwanted items can be sorted into categories e.g. gifts, donations, recycling and general waste.
4. Make it functional
Take a moment to imagine your ideal space. Get clear about the work you want to create and how you want to create it. Once you know your priorities you can look for specific solutions. For example if painting big canvases is a priority, an easel or a painting wall are likely to be important. While it is tempting to want to cover all bases, when we do that often we end up with a cramped studio space where nothing works. Consider your main purpose and make that a priority.
5. Place a value on comfort
Lighting, heating, cooling and a comfortable chair are all important factors that will affect your desire and ability to create. Investing in these items pays will off over time and reward you with more happy art-making hours.
6. Experiment with different lay-outs
Measure your space and try your furniture in various configurations. For me, having a large table in the middle of the studio that faces out to my garden and has access from three sides helps my creative flow. It allows me to move freely and feels much more inviting to sit at.
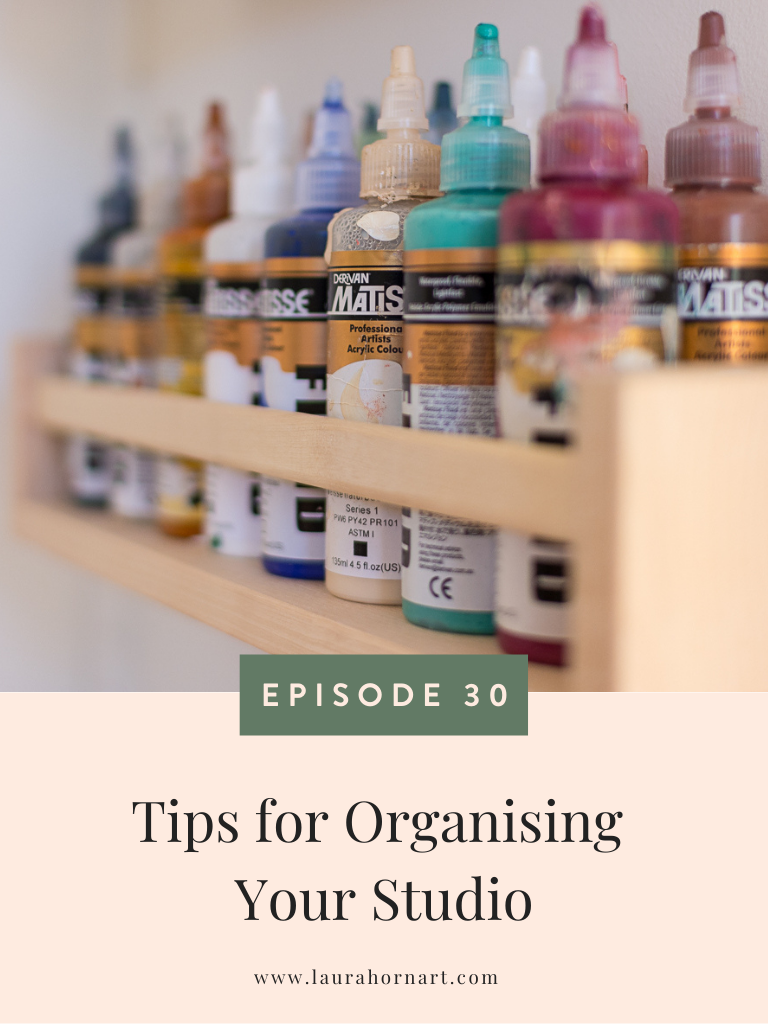
7. Be creative with storage space
Before you go out and buy a tonne of containers and baskets, take a moment to think. Ask yourself, what exactly do you need to store? Then you can go out and hunt down the solution. I found most of the items I was looking for at IKEA but I also used items that I already had in my home.
8. Consider where in-progress and finished work will be kept
Have you thought about where your in-progress or finished pieces will live? This was an area that I overlooked when I first set up my studio and I ended up damaging work and cluttering my space. Now I have a set of IKEA Alex drawers for my paper pieces and an IKEA Ivar shelf that can hold smaller canvases and wooden panels. I am also working on a strategy for limiting the number of large canvases I am allowed to work on at any time. We will see how that goes!
9. Make it a place that you want to be in
It is one thing to have a functional space but you also need an inviting and inspiring environment. Take time to decorate your space. Plants, candles, artwork and other trinkets and treasures will help to make your studio feel cosy and personal. Another idea is to cut out or print images that inspire you and create a mood board or inspiration wall.
10. Look after your space
This is probably the hardest part of all. Studios by their very nature get messy and that’s a good thing, but for me, if things get too messy, it becomes overwhelming. See whether there is a way to incorporate cleaning and organising your studio into your creative practice. It could be 10 minutes at the end of each painting session or maybe half an hour on a weekend. My favourite way to do this is to put on a podcast and potter in my studio on Sunday afternoon getting ready for the week ahead.
Well that’s it, 10 tips for organising your studio space.
IVAR Shelving Unit
BEKVÄM Spice rack
ALEX Drawers
VARIERA Cutlery Tray